My boys and I are addicted to Team Umizoomi and this project really inspired me of a creative way to work on our number skills.
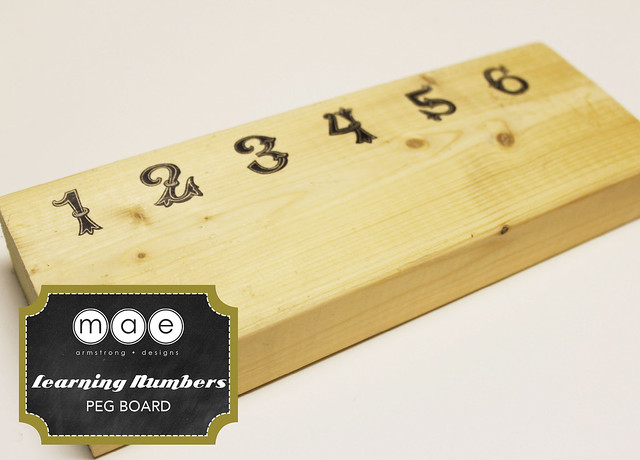
I started with a 2"x4" wood scrap. I actually got this from a neighbor and thought this would be perfect for my project.
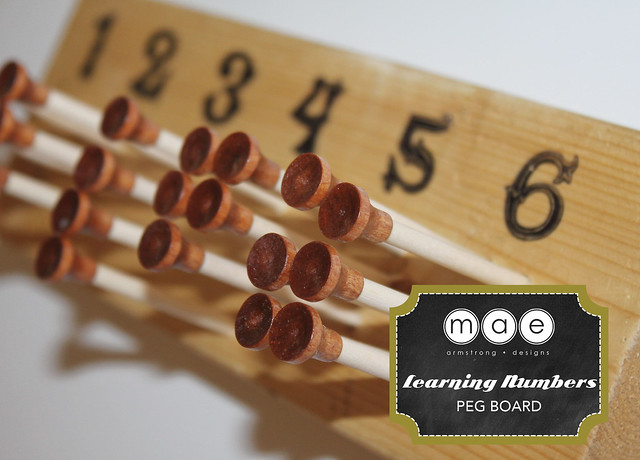
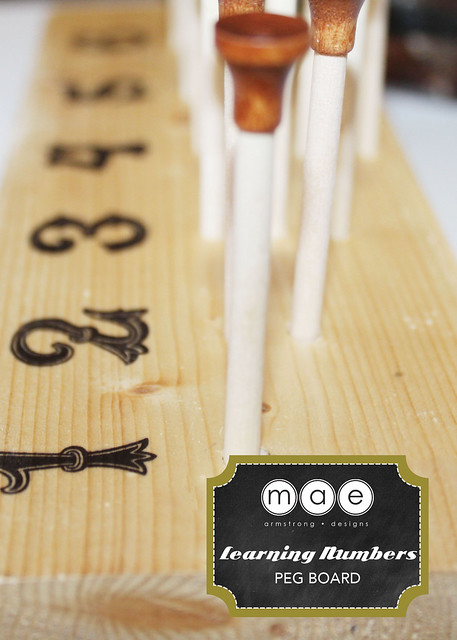
Plan your number spacing before stamping. If you want to be absolutely sure you can measure the space in between and mark them with a pencil. I just eye balled mine. It's not perfect but you can't really tell right. I was just too excited to get this one done so we can put it in good use.
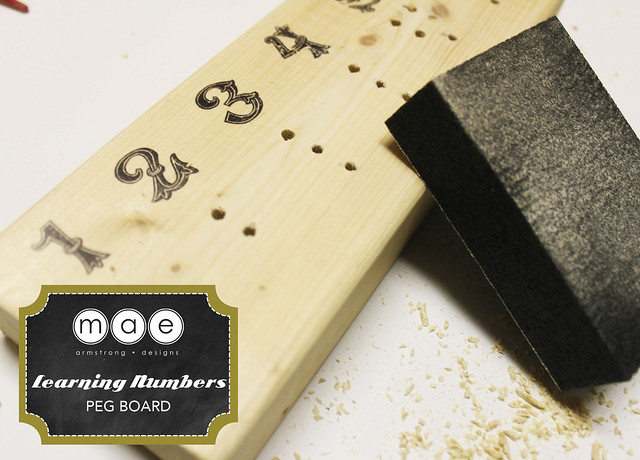
After stamping mark the holes for the pegs and drill the appropriate number of holes. After drilling use a sanding block and smooth out the surface of the wood.
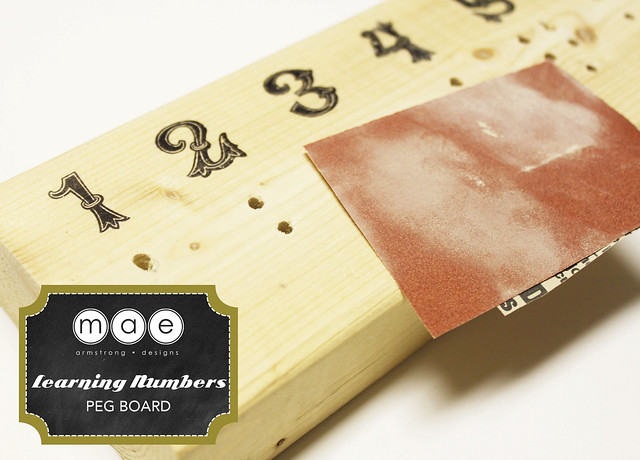
Use a fine sanding paper.
Feel the surface to make sure there are no rough spots. Then use a Crystal Clear Acrylic spray to seal to protect the wood and also the stamped surface.
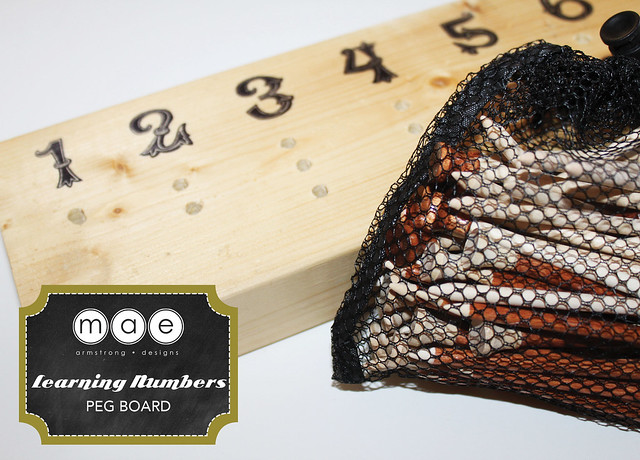
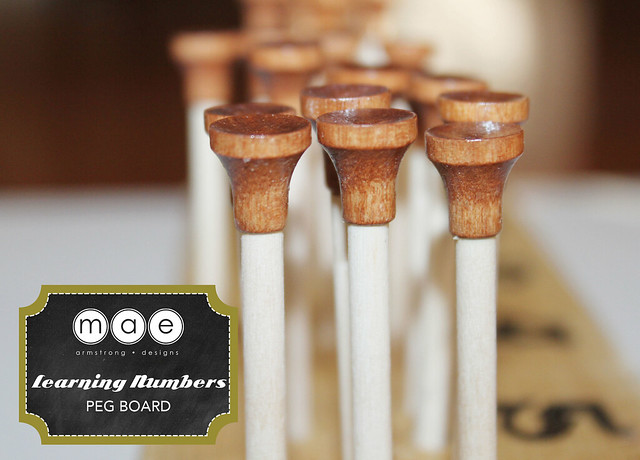
I picked up a package of wooden golf tees at Walmart. Found some natural tees that match my peg board perfectly. The tees came with this awesome bag - it was a great deal all in all.
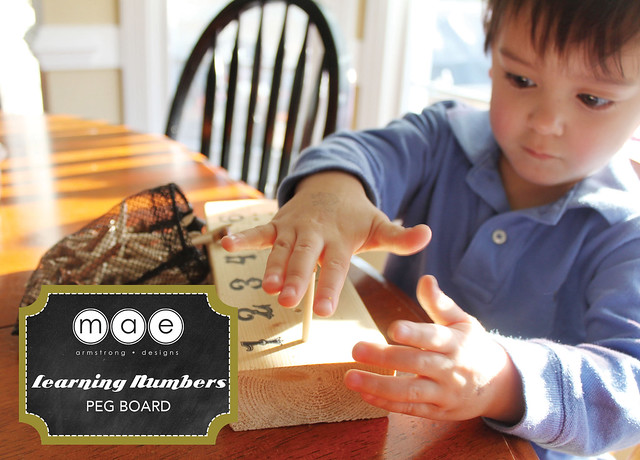
Here's my son concentrating on placing the right number of pegs.
I just love this project. Hope you enjoy it too!
Visit http://psastampcamp.blogspot.com/ for more ideas.
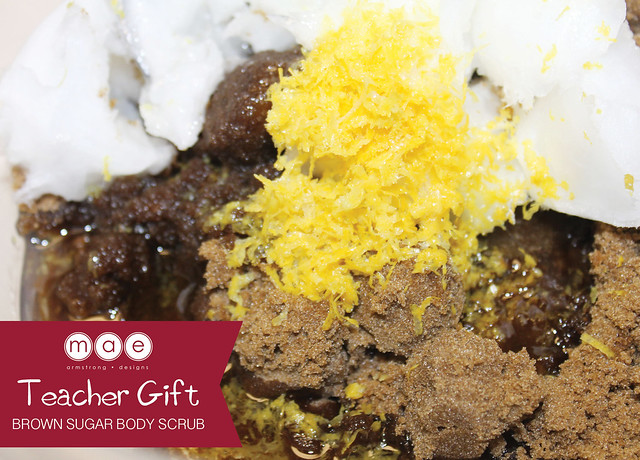
I am loving all the homemade hand and body scrubs via Pinterest lately and thought I can definitely create a big batch of this brown sugar body scrub and turn them into teacher gifts.
I started by mixing all the ingredients. Make sure there are no lumps.
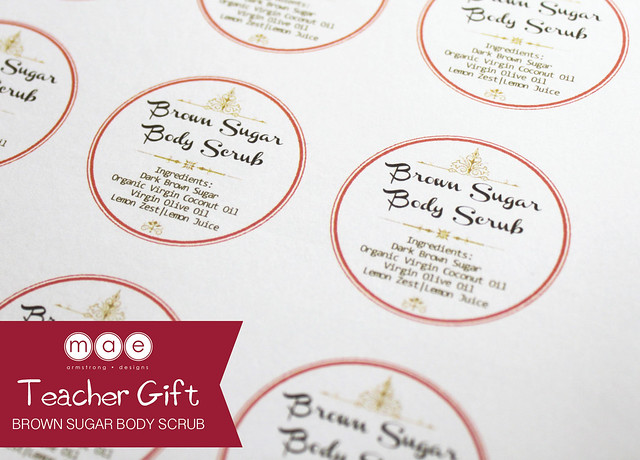
I designed a set of circle labels to decorate the packaging. Punch circle tags using a 2" circle puncher and glue onto the tops.
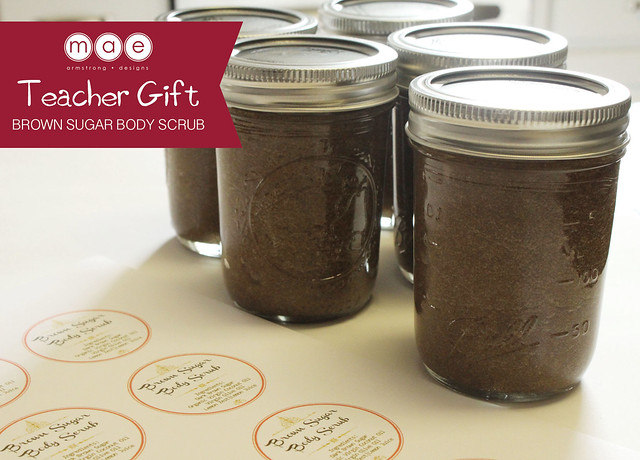
Transfer and divide into mason jars. Seal and secure lids.
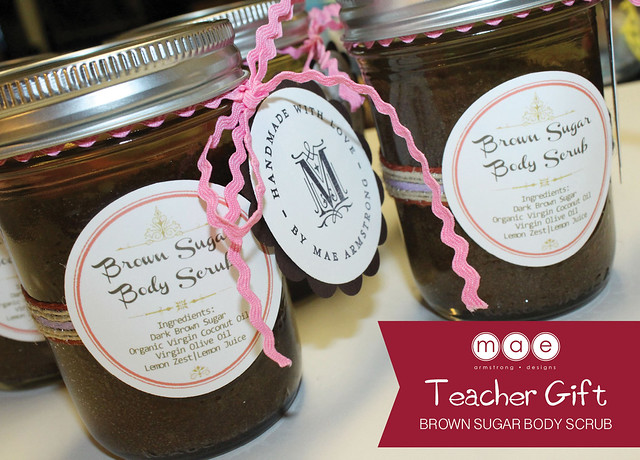
I decorated the jars with ribbon and attached the circle label.
I also prepared stamped circle tags and attached it with a pink ric-rac ribbon. I used my custom stamp from PSA Essentials.
I can't wait to deliver these homemade goodies to our teachers.
Visit http://psastampcamp.blogspot.com/ for more ideas.
Welcome to the PSA Essentials & blog hop! If you're coming by via PSA Samp Camp you're on the right track. If not make sure you start at the beginning and check PSA Stamp Camp blog so you don't miss any amazing projects.
I just love repurposing things and this is such a great project
because I have tons of fabric scraps that I just can't part with. I can
see different themes created throughout the year and it can be a great
gift idea to for a crafty friend too!
Start off by
selecting a cotton fabric. Trim strips of fabric using a rotary cutter.
The width of the ribbon is approximately 1.5" enough to fit around the
wooden spool. Iron strips of fabric for easy stamping.
Secure the end of the fabric strip onto the wooden spool and wrap around until you reach the end piece.
Here are my new fabric ribbons. Aren't they gorgeous. It's so shabby chic. I can't wait to make some more.
Hope you enjoyed this project. Your last stop is PSA Essentials. Thanks again for stopping by and don't forget to follow PSA Essentials. Don't forget to comment on each blog and good luck in the giveaways!
Grand prize giveaway of 1 custom stamp, 3 Peel & Stick stamp
sets, 2 notecards, 1 alignment tool, 1 black ink, 1 2-color ink, and free
shipping to the winner.Value of the package is $150. Goodluck!
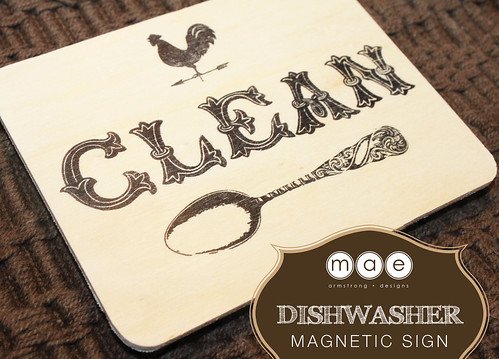
We have a dishwasher chore issue at our house. It's been bugging us and now I have a great solution to help us out. I created a simple dishwasher magnetic sign. This simple label will help us figure out if we have clean dishes inside the dishwasher. We usually run the dishes at night before going to bed. Sometimes, we'll begin to empty half of it and forget about the rest. I think we get easily distracted but with this simple sign should help us.
I picked up a wooden craft boards at Michael's and used PSA Essentials Peel stamps. I picked the rooster from the Country Home set and selected the archive alphabet set to spell out "CLEAN". I added a vintage spoon stamp from my stamp collection.
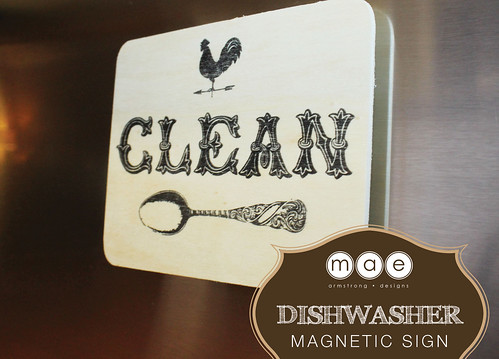
Plan the letters and stamp away and add four magnets on the back of the board.
Simple, fast and usable project.
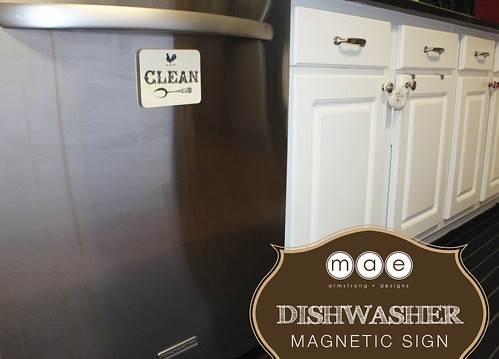
I can see different ideas for this project already.
Welcome to the PSA Essentials & Touch Twin Markers blog hop! If you're coming by via Tami Mayberry you're on the right track. If not make sure you start at the beginning over at Touch Twin Marker Blog with Lydia Fiedler so you don't miss any amazing projects.
I drew a treasure map using Illustrator and provided circles for the key locations for the PSA Essentials stamp icons. I used Touch Twin Markers to bring my illustration to life.
You can download the FREE picture file and print so you can create your very own treasure map. This project is great for Pirate birthday party and a great pretend outdoor/indoor activity for the older kids.
I just love playing with my first set of Touch Twin Markers. It's easy to use and the Colorless Blender is fantastic.
I planned out what I wanted to accomplish before coloring my map. Lined up my markers according to what I want to color first. Then I started with the land and water and worked my way through the different details of the map.
I did a free-hand stripe coloring on the little boy's shirt. The fine tip really helped define the straight lines.
After coloring all the elements. I stamped PSA Essentials icons to my map. I used a variety of stamp sets for this project. I used Haunted Shack, Anchor's Aweigh, Rocket and Archive Text. It's such a fun project. If you're planning to use it for a treasure dig adventure for a pirate party you can finish one copy and use a color copier to produce extra copies for the other kids participating.
I just love this little guy.
Hope you enjoyed this project. Your next stop is Jeanne Streiff from Inky Paws...thanks again for stopping by and don't forget to follow PSA Essentials and Touch Twin Markers blogs.
If you're interested to purchase any PSA Essentials products, we currently have an exclusive discount for blog hoppers at Cyber Savvy Shop.
Receive 30% of all Peel & Stick packs and custom stamp is only
$26.50 (regularly $40). Shipping is just $6 for orders over $50 and free
for orders over $100.
Been really busy these past few months. I finally completed the baby shower gift basket for a dear friend. Everything was completely handmade except for a few of my favorite baby products.
Crochet baby hat with a cute little white flower.
Also, crochet a pink scarf for the bear. :)
Made her a crochet baby blanket, hat, burp cloths, binky clips and a changing pad.
Wrapped the basket with tulle instead of cellophane. :) This project took so long to finish but so worth it.
Love following Anthropoligie on Twitter. It gives me another reason to visit their online store more and more. I found a few things that I love. I would like to get them to add to my fall wardrobe.
Mullany Dress Perfect dress for any cocktail party. I can definitely add black tights and a cute jacket with a bright colored scarf to make a statement for a beautiful fall night.
Browsing through Etsy again and found these amazingly cute decorative soaps from SatinandBirch these adorable soaps brightened my day. What a great gift idea! They are one of a kind and carefully crafted. I want a few for my bathroom too.