
Thursday, August 1, 2013
Congratulations Ela!
This is my friend Ela's wedding. I designed her wedding stationery. She lives in Prague with Denis and I am in love with this fantastic wedding video. Makes me want to do a wedding back home. This is how they create magical moments in Manila. They did a destination wedding and truly touched that I got to share my talents with her. Congrats Ela and Denis. Wish you guys the very best!
Tuesday, June 11, 2013
Moving on to a new blog format...
Hi everyone...I will be using a new blog address from now on. I will keep this blopspot account for a little while but will be transitioning to this new address - http://maearmstrongdesigns.com/blog/. You can still follow me via Pinterest, FaceBook, Twitter, Instagram and Flickr.
I will be reopening my Etsy store and will be adding new stationery designs and party printables. I will also be accepting printed stationery orders. I will keep you updated and please follow me through my creative journey and life as a stay-at-home Mommy via my Social Media links.
Thanks and have a wonderful Summer day!
Mae
Tuesday, May 21, 2013
Homemade Fabric Stamped Fabric Tape
A while back I created a stamped ribbon project and this time I transformed another stamped fabric into a decorative tape.

I selected a plain cotton quilting fabric and used a heavy duty double sided tape.
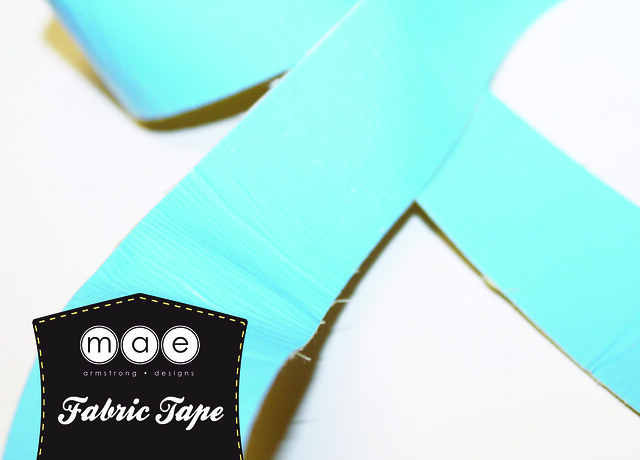
I prepared 1 1/2 yard of fabric and placed the tape on top of the cotton fabric. Carefully trim the fabric using the tape as your guide.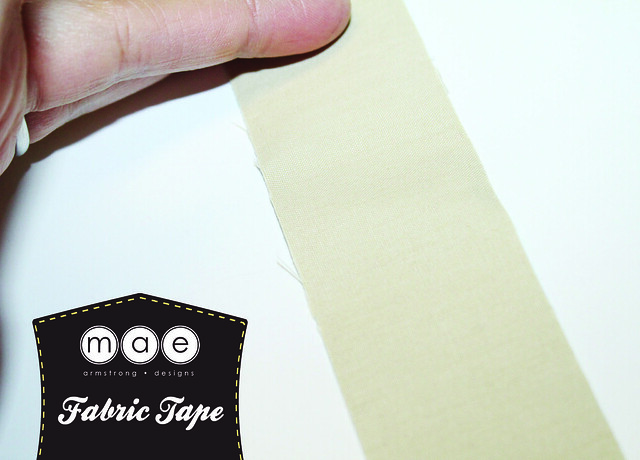 Smooth fabric against the tape.
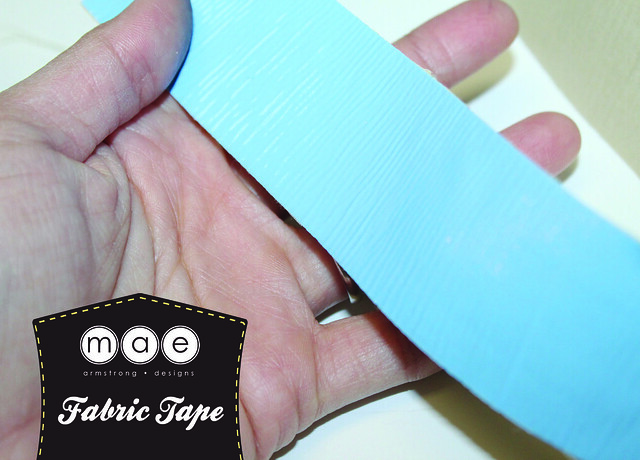
I rolled up my finished fabric tape using a wooden spool.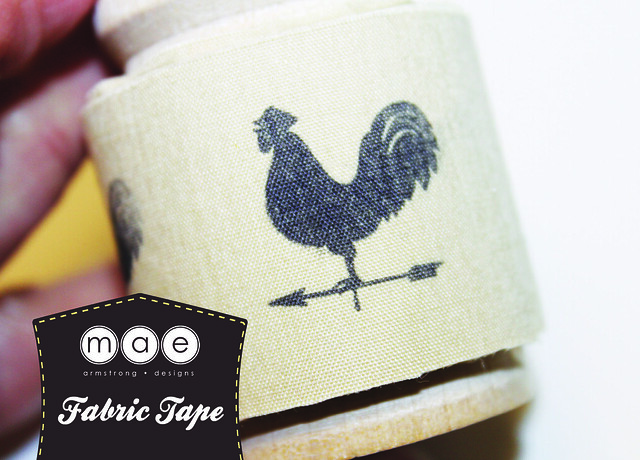
Visit http://psastampcamp.blogspot.com/ for more ideas.
I selected a plain cotton quilting fabric and used a heavy duty double sided tape.
I prepared 1 1/2 yard of fabric and placed the tape on top of the cotton fabric. Carefully trim the fabric using the tape as your guide.
Smooth fabric against the tape.I rolled up my finished fabric tape using a wooden spool.
Visit http://psastampcamp.blogspot.com/ for more ideas.
Wednesday, May 15, 2013
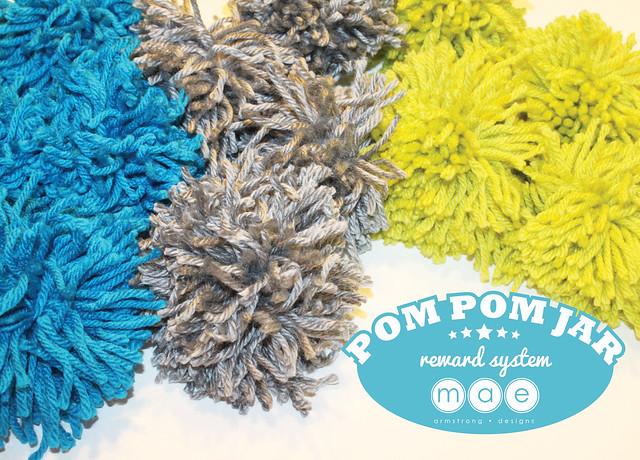
Pom Pom Jar (Reward System)
When I'm out with my fellow Moms, I often ask about different ideas to help me become a better parent. My friend suggested a reward system and said the Pom Pom Jar had worked for her. It's such a genius idea - it's a great way to discipline your little ones. Kids earn pom poms by being well-behaved and kind around the house or doing little chores. Those pom poms go into a jar and when the jar is full - they get a reward!
I have sweet treats for prizes and soon will start creating fun surprises for my little guys.
Trim loops carefully. Set aside and prepare wooden discs.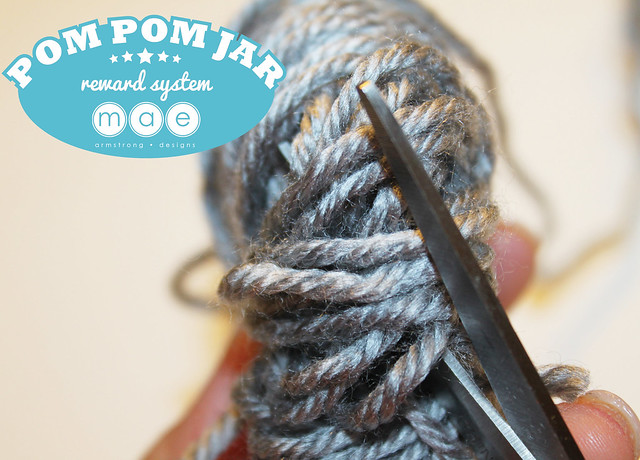
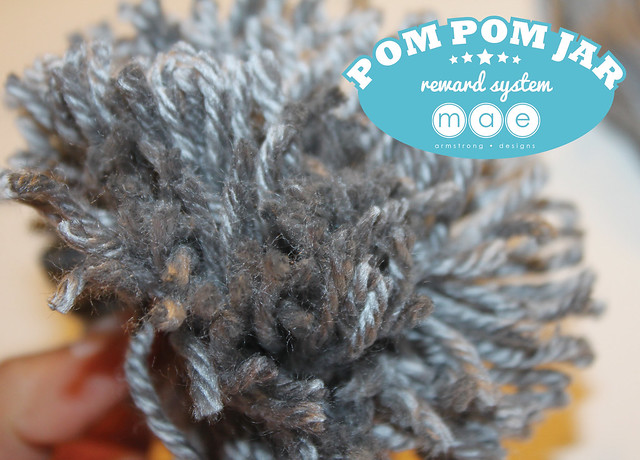
Remove uneven strands and shape while trimming.
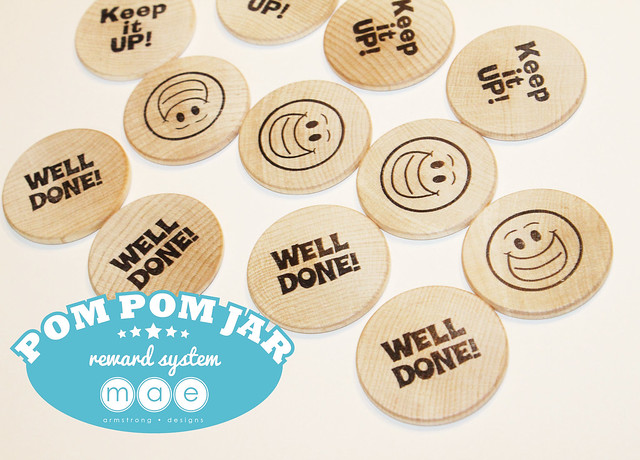
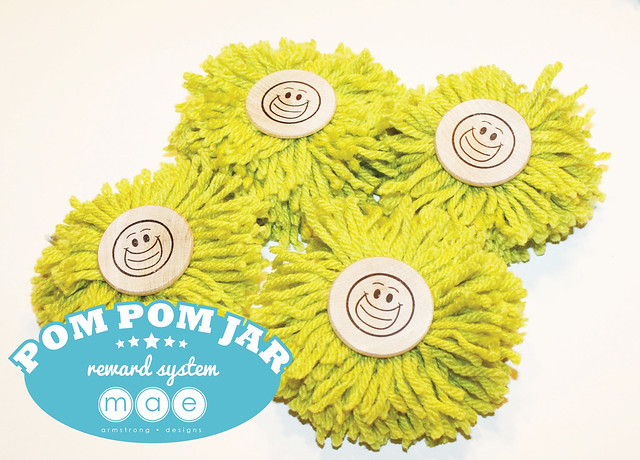
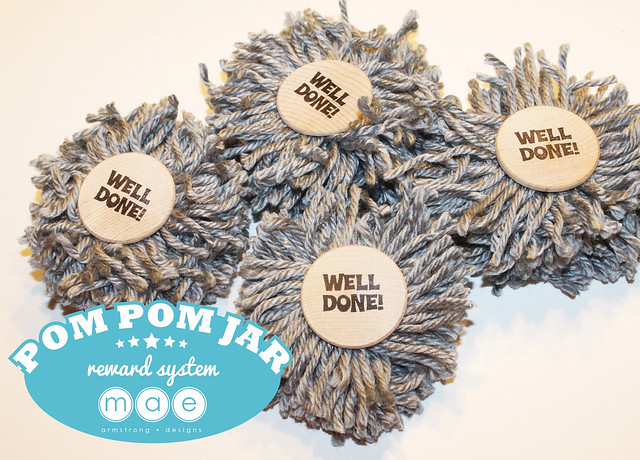
Stamped 12 wooden discs using PSA Essentials Super Star Peel & Stick Stamp set.
Glue wooden discs on top of each pom poms.
I used hot glue to secure the wooden discs.

I also made a simple felt flower tag and layered it with scalloped label and topped with with a stamped sentiment from PSA Essentials Peel and Stick stamp collection.
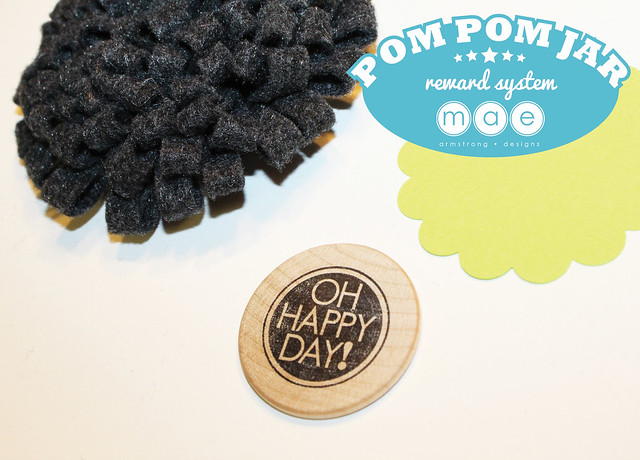
Secure with hot glue and attach to felt.
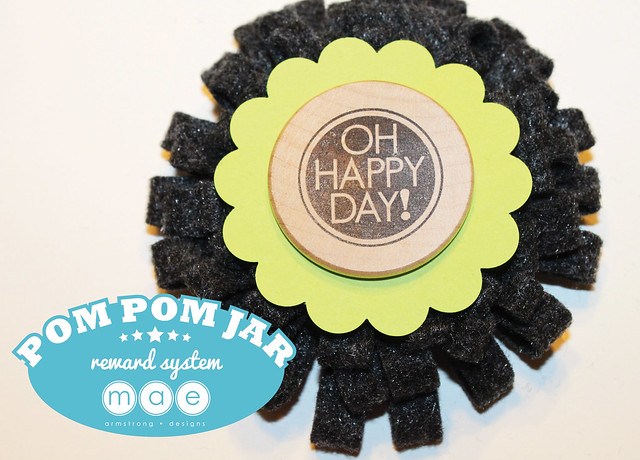
Here's the jar ready to be used by my little ones.

Visit http://psastampcamp.blogspot.com for more ideas.
I have sweet treats for prizes and soon will start creating fun surprises for my little guys.
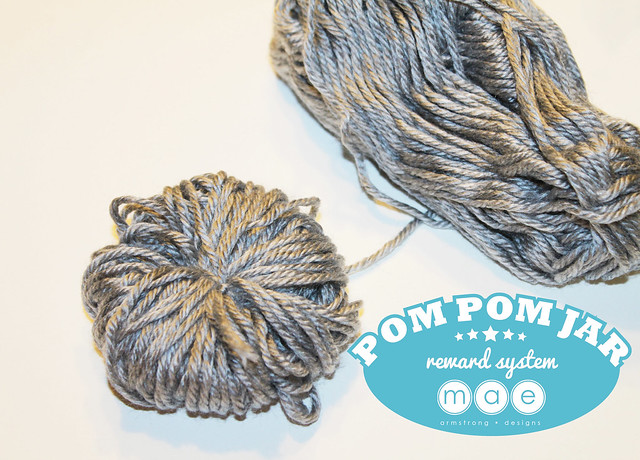
I wanted to create my own pom poms using some scrap yarn. (It's perfect use this project).
Wrap the yarn around a scrap piece of card stock. When you're making pom-poms volume is key. Remove the wrapped yarn from the card stock and prepare a 3" to 4" yarn and tie it around. Knot twice to secure the yarn. You don't want it too loose.
Wrap the yarn around a scrap piece of card stock. When you're making pom-poms volume is key. Remove the wrapped yarn from the card stock and prepare a 3" to 4" yarn and tie it around. Knot twice to secure the yarn. You don't want it too loose.
Trim loops carefully. Set aside and prepare wooden discs.
Remove uneven strands and shape while trimming.
Stamped 12 wooden discs using PSA Essentials Super Star Peel & Stick Stamp set.
Glue wooden discs on top of each pom poms.
I used hot glue to secure the wooden discs.
I also made a simple felt flower tag and layered it with scalloped label and topped with with a stamped sentiment from PSA Essentials Peel and Stick stamp collection.
Secure with hot glue and attach to felt.
Here's the jar ready to be used by my little ones.
Visit http://psastampcamp.blogspot.com for more ideas.
Wednesday, May 1, 2013
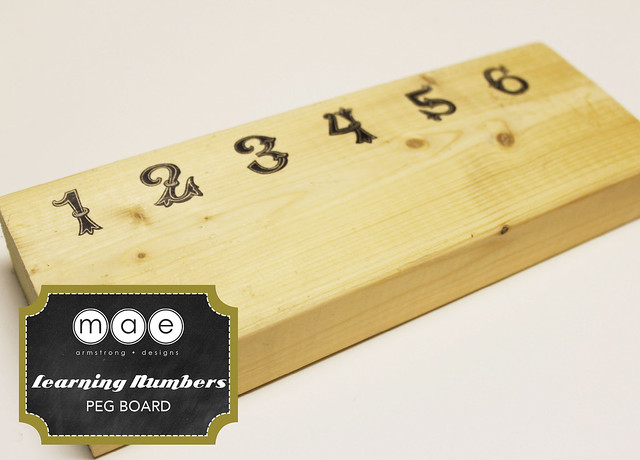
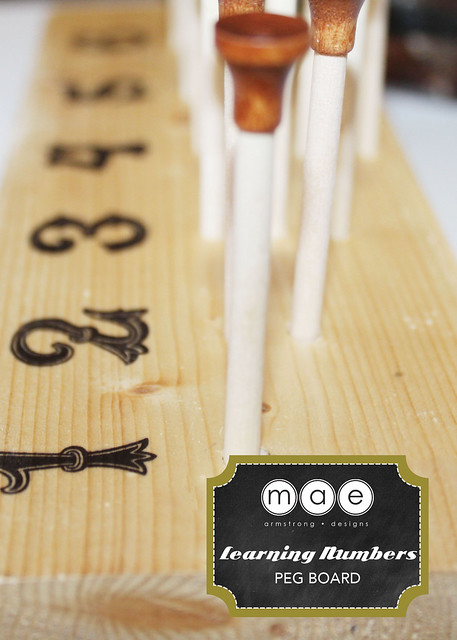
Learning Numbers - Peg Board Tutorial
My boys and I are addicted to Team Umizoomi and this project really inspired me of a creative way to work on our number skills.
I started with a 2"x4" wood scrap. I actually got this from a neighbor and thought this would be perfect for my project.

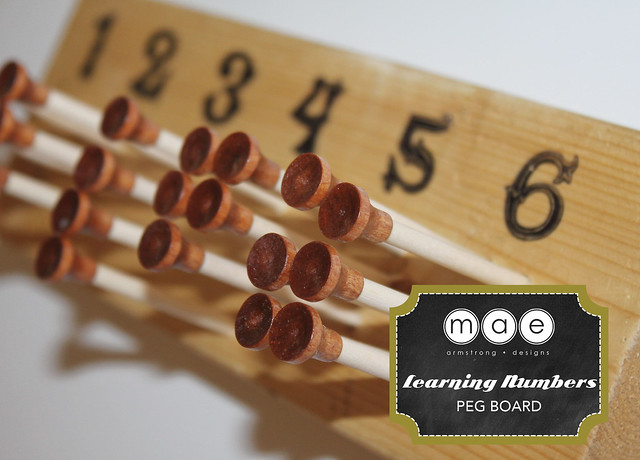
Plan your number spacing before stamping. If you want to be absolutely sure you can measure the space in between and mark them with a pencil. I just eye balled mine. It's not perfect but you can't really tell right. I was just too excited to get this one done so we can put it in good use.
After stamping mark the holes for the pegs and drill the appropriate number of holes. After drilling use a sanding block and smooth out the surface of the wood.
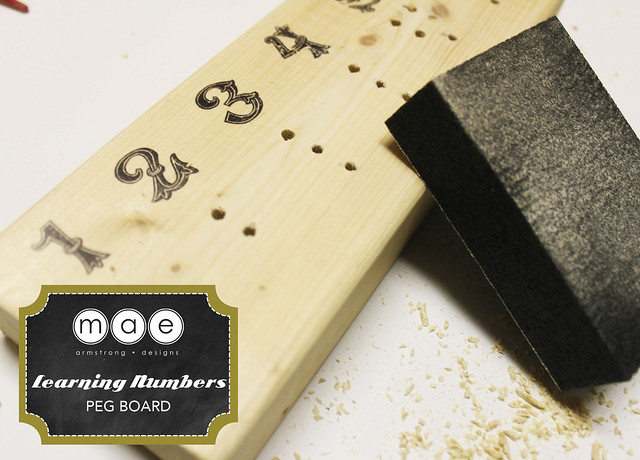
Use a fine sanding paper.
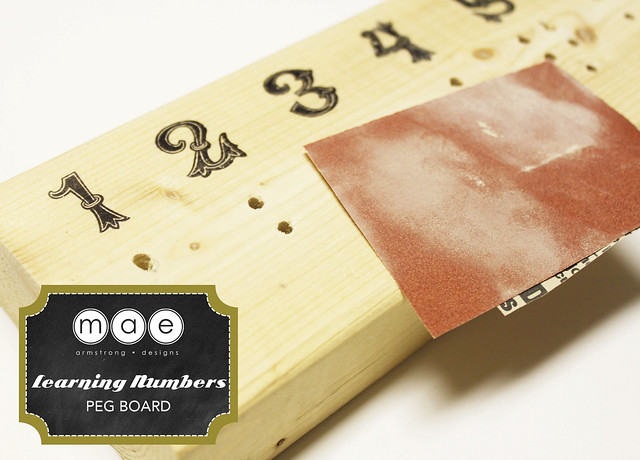
Feel the surface to make sure there are no rough spots. Then use a Crystal Clear Acrylic spray to seal to protect the wood and also the stamped surface.
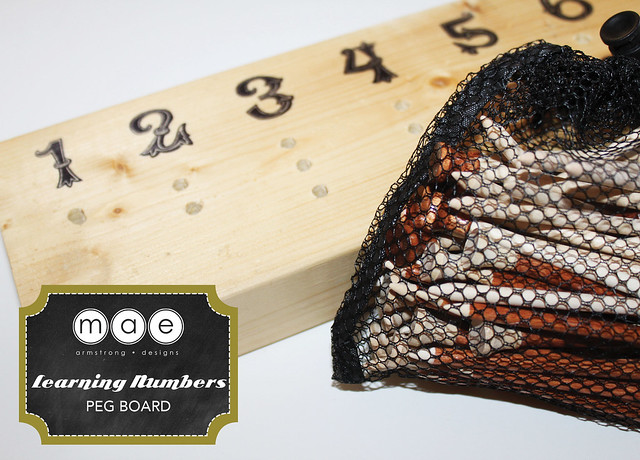
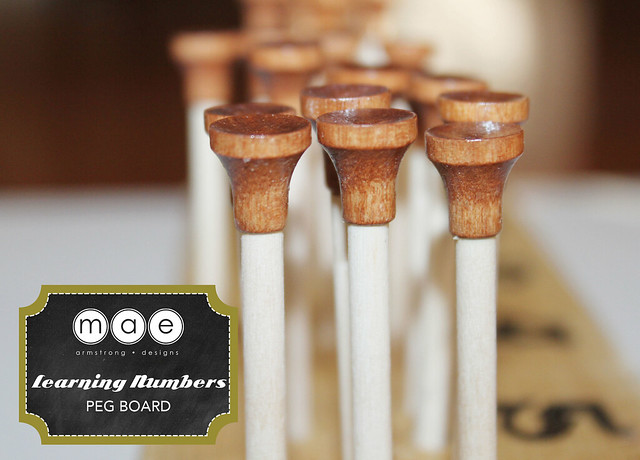
I picked up a package of wooden golf tees at Walmart. Found some natural tees that match my peg board perfectly. The tees came with this awesome bag - it was a great deal all in all.
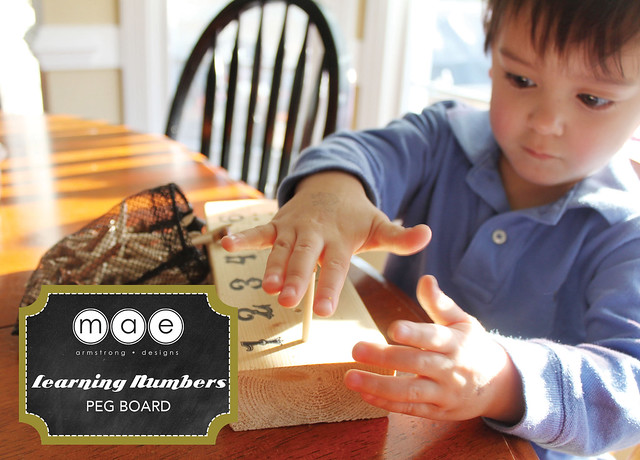
Here's my son concentrating on placing the right number of pegs.
I just love this project. Hope you enjoy it too!
Visit http://psastampcamp.blogspot.com/ for more ideas.
I started with a 2"x4" wood scrap. I actually got this from a neighbor and thought this would be perfect for my project.
Plan your number spacing before stamping. If you want to be absolutely sure you can measure the space in between and mark them with a pencil. I just eye balled mine. It's not perfect but you can't really tell right. I was just too excited to get this one done so we can put it in good use.
After stamping mark the holes for the pegs and drill the appropriate number of holes. After drilling use a sanding block and smooth out the surface of the wood.
Use a fine sanding paper.
Feel the surface to make sure there are no rough spots. Then use a Crystal Clear Acrylic spray to seal to protect the wood and also the stamped surface.
I picked up a package of wooden golf tees at Walmart. Found some natural tees that match my peg board perfectly. The tees came with this awesome bag - it was a great deal all in all.
Here's my son concentrating on placing the right number of pegs.
I just love this project. Hope you enjoy it too!
Visit http://psastampcamp.blogspot.com/ for more ideas.
Wednesday, April 24, 2013
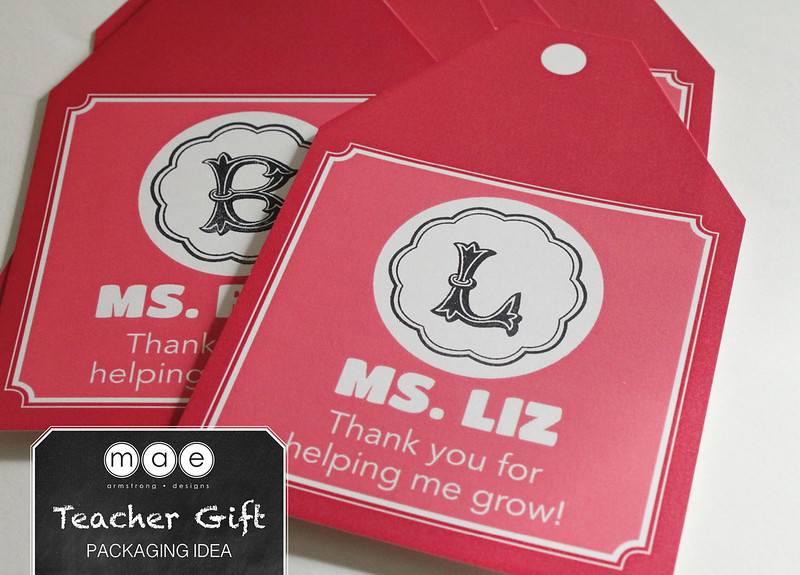
Teacher Gift - Packaging Idea
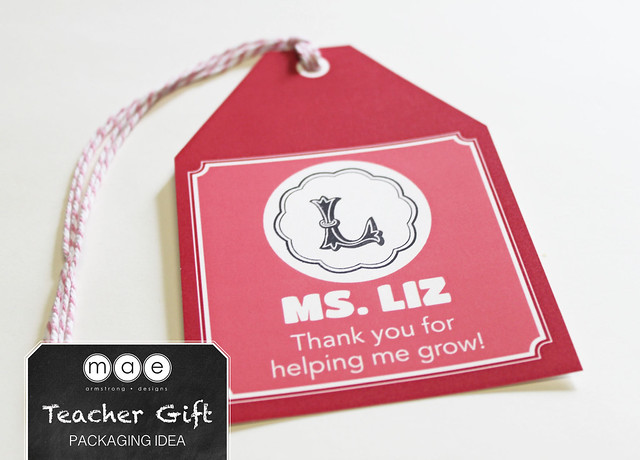
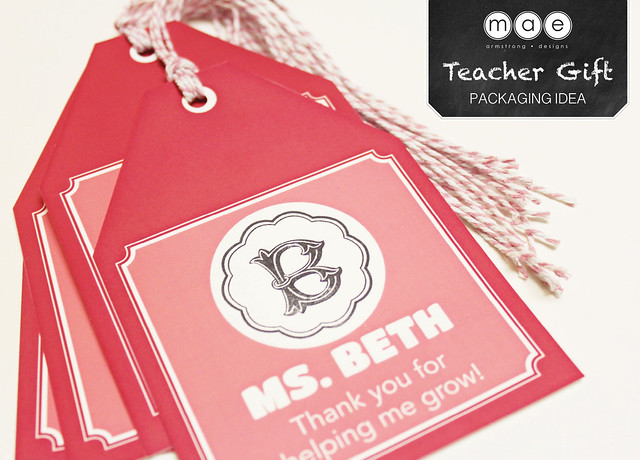
Looking for an inexpensive teacher gift idea. I came up with this from browsing through Pinterest. Thought a little gardening kit would be perfect. I started by designing a printable gift tag. I created a blank circle for the stamped initials. I used PSA Essentials Archive Peel and Stick Stamp set for the initials. I also used the corresponding outer circle to perfectly frame the letters.
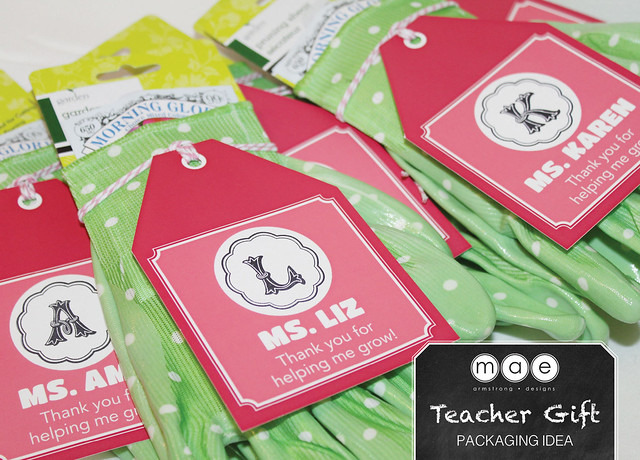
I punched a hole and looped through a pink and white twine.
It was fast and super easy. I am going to do a bunch more printable designed gift tags for my future projects. The stamps makes a fast personalized present.
I picked a few items at the Dollar Store to create my simple gardening kit.
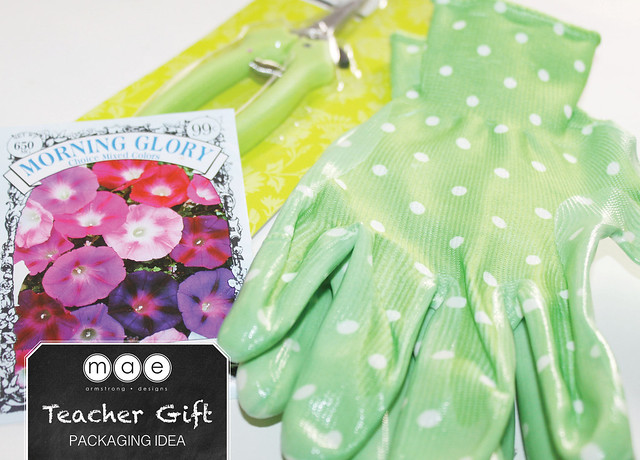
I stuffed the glove with all the goodies and wrapped the stamped tag. Perfect gift for any teacher. A simple way to show your appreciation.

We can't wait to give them to our play school teacher.
Visit http://psastampcamp.blogspot.com/ for more ideas.
Monday, April 15, 2013
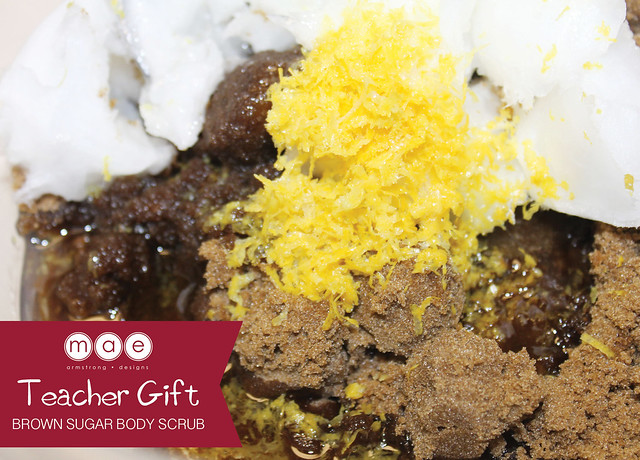
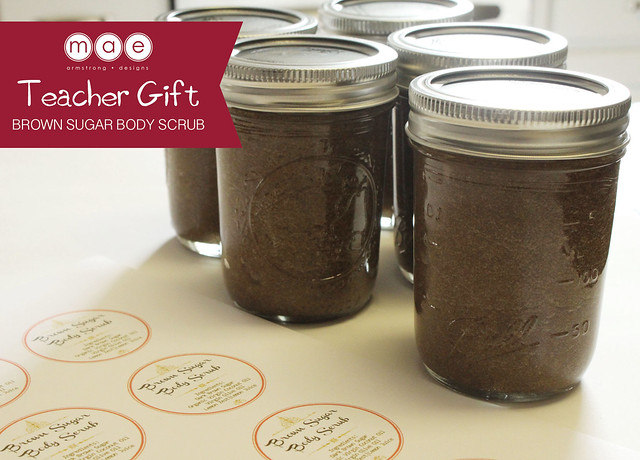
Teacher Gift - Brown Sugar Body Scrub
I am loving all the homemade hand and body scrubs via Pinterest lately and thought I can definitely create a big batch of this brown sugar body scrub and turn them into teacher gifts.
Ingredients
Organic Coconut Oil (1 1/2 cups)
Virgin Olive Oil (1/2 cup)
Brown Sugar (2 cups)
Lemon Juice (5 tbsp)
Lemon Zest (2 tbsp)
I started by mixing all the ingredients. Make sure there are no lumps.
I designed a set of circle labels to decorate the packaging. Punch circle tags using a 2" circle puncher and glue onto the tops.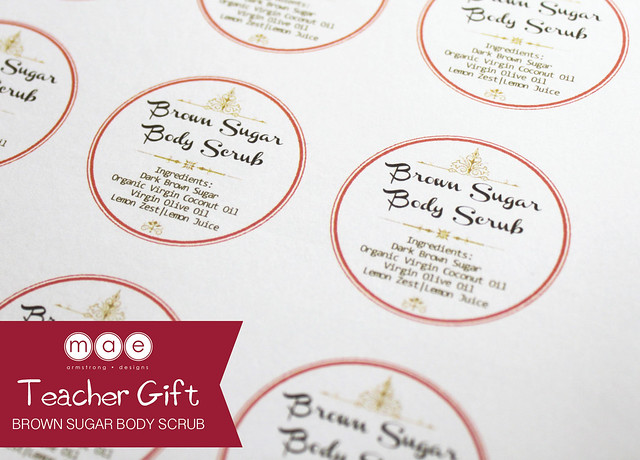
Transfer and divide into mason jars. Seal and secure lids.
I decorated the jars with ribbon and attached the circle label.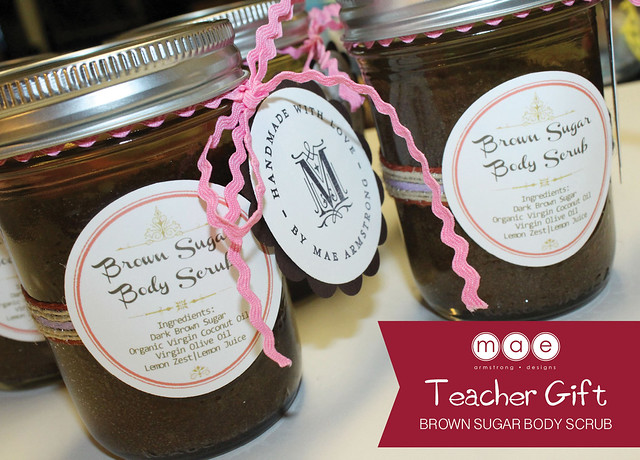
I also prepared stamped circle tags and attached it with a pink ric-rac ribbon. I used my custom stamp from PSA Essentials.
I can't wait to deliver these homemade goodies to our teachers.
Visit http://psastampcamp.blogspot.com/ for more ideas.
Subscribe to:
Posts (Atom)